 |
Segmented TurningDesign your first segmented project in 5 minutes with the Segmented Project Planner |
|||
|
| Products | Classes | Free Plans | Hints | Buy Now | Gallery | Wood Costs | User Projects | FAQ |
| Calculators(
AutoBowl,
Incline Angle, Volume) Color Picker Designers ( Diamonds, Segmented Scene, Vertical Spacers, Blocks, ZigZags, Diamond Borders, Slicer Open Segment) Design Tools (Describe-A-Shape, Design Assistant, Layer Tuner, Shape-A-Bowl, Sketch-A-Bowl) |
Document Generator Named Colors Project Resizer Reports (Project, Cut List, Turned Away, Turning) RingMaster Support |
Segment Designs/Mosaics Segment Images Segment Painting Template Printers (Rings, Segments, Angles) Videos ( Program Usage, Construction) |
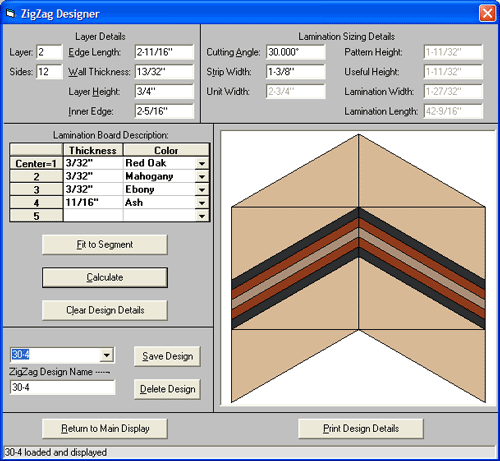
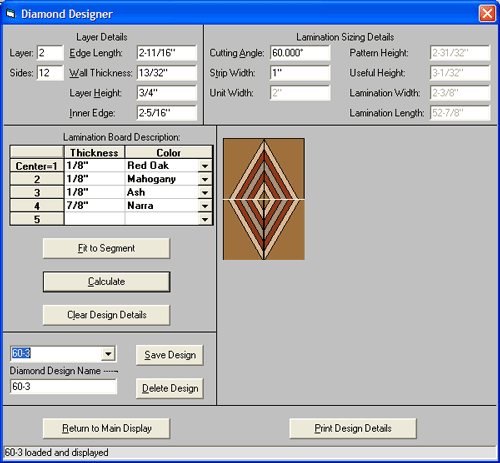
The Segmented Project Planner supports the design of 1st and 2nd generation laminations you can use both in segmented projects and other projects. You might better know them as ZigZags and Diamonds. Below you can see both the ZigZag and Diamond designers.

|
You select the thickness and color of each wood you want to use to construct the lamination board, set
the cutting angle and strip width, and you have a design. Then adjust as needed to make it perfect. When you are finished, you can save the design for use later. A picture of the design is automatically saved as well, so you can use it to paint segments in your project. The Fit to Segment button helps you adjust your design to fit within the constraints of any specific layer in your project. In the Layer Details section of the dialog, select the Layer you want to design for, and it will retrieve the relevant sizing parameters for you. Print the design details and you have everything you need to start construction. |
| The Diamond Designer works just like the Designer shown above. Make any change you want to the design details and the picture instantly updates to show you the effect of the change. |

|
Click here to get back to the Segmented Project Planner base page.
Still not convinced? Just give me a call. I'll answer all your questions.
